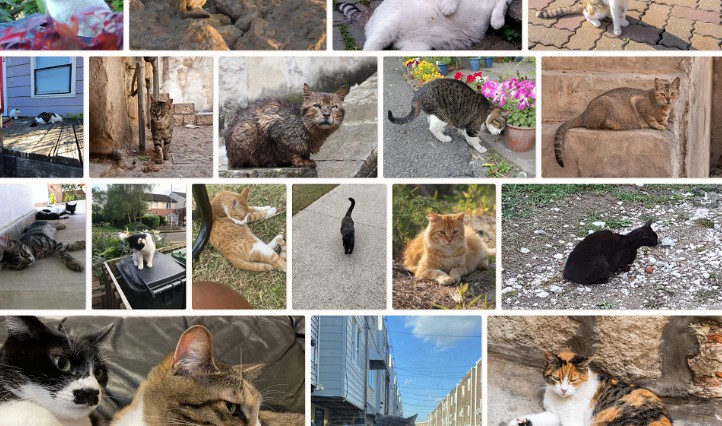
It can be used in an instant, so if you have any ? photos, I'd be happy if you could upload just one photo as a trial ~~~
Technical elements and impressions
What I used and miscellaneous feelings.
Below is the repository link.
https://github.com/mirumirumi/your-cat-vue
https://github.com/mirumirumi/your-cat-sam
Vue
I've always wanted to include in the deliverables that I can release what I like about her small UI parts that I see on the Web, and this time he enjoyed writing a lot with Vue. It is.
Let me introduce some.
blur modal back
It's salty, so Vue has nothing to do with it, but I wanted to do a blurry one instead of darkening the modal back.
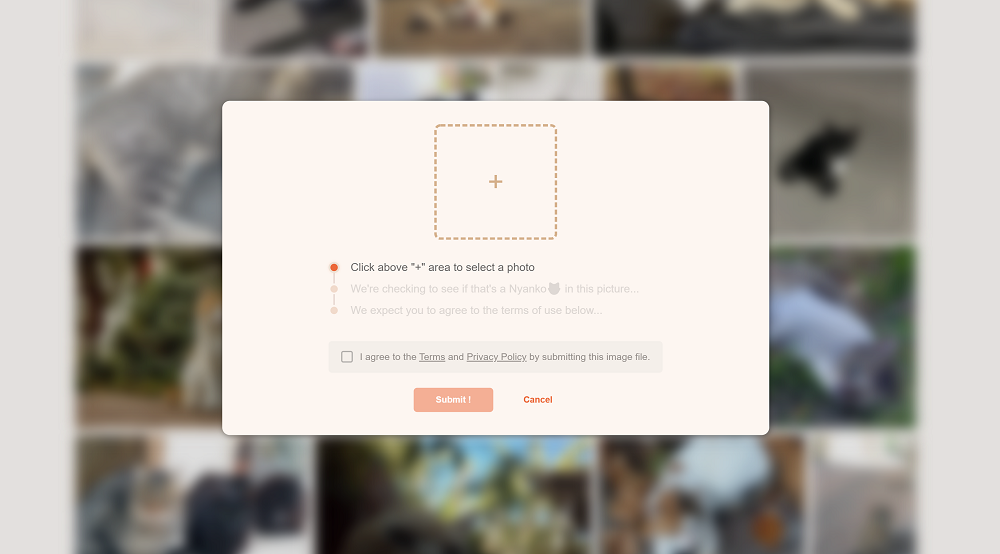
Apple's UI looks like it's modern, and it's sad that it gets dark because of the side of the gallery site. I feel that the colorful photo tiles remain elegant when blurred.
Skeleton loading
I think it was the part that benefited most from Vue.
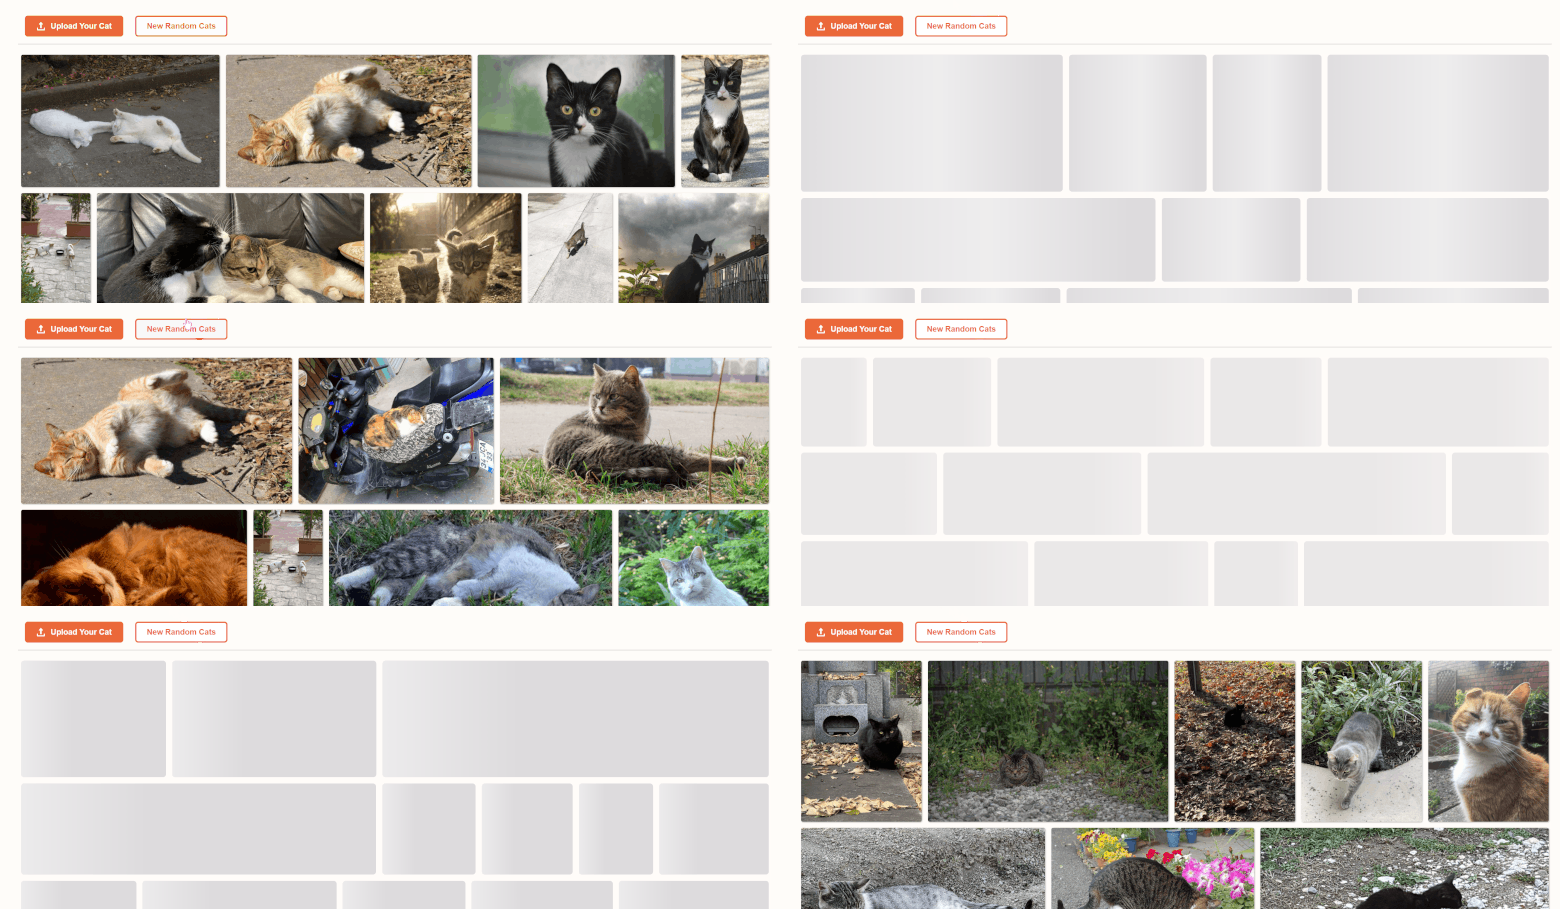
I tried to make the size and number of skeleton blocks randomly change each time it is displayed.
<template>
  <div class = "loading-block-wrap": style = "{'width': size.width * 133 / size.height +'px','flex-grow': size.width * 133 / size.height} ">
    <i: style = "{'padding-bottom': size.height / size.width * 100 +'%'}"> </ i>
    <div class = "loading-block": class = "{'stop-loading': isStopAnimation}": height = "size.height"> </ div>
  </ div>
</ template>
The adoption of the library was postponed because it was not a big implementation even if it included the display, and I wanted to have an interface similar to the photo display.
Progress animation
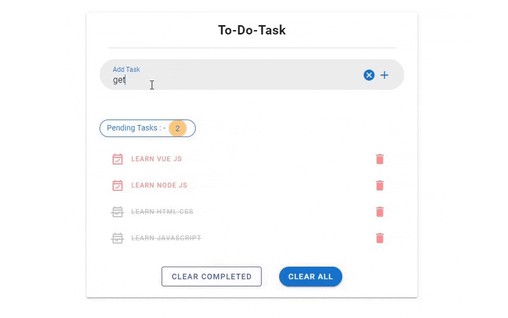
One response from the application for each operation from the user is the most common interaction, but I wanted to create something that takes a series of movements in a row.
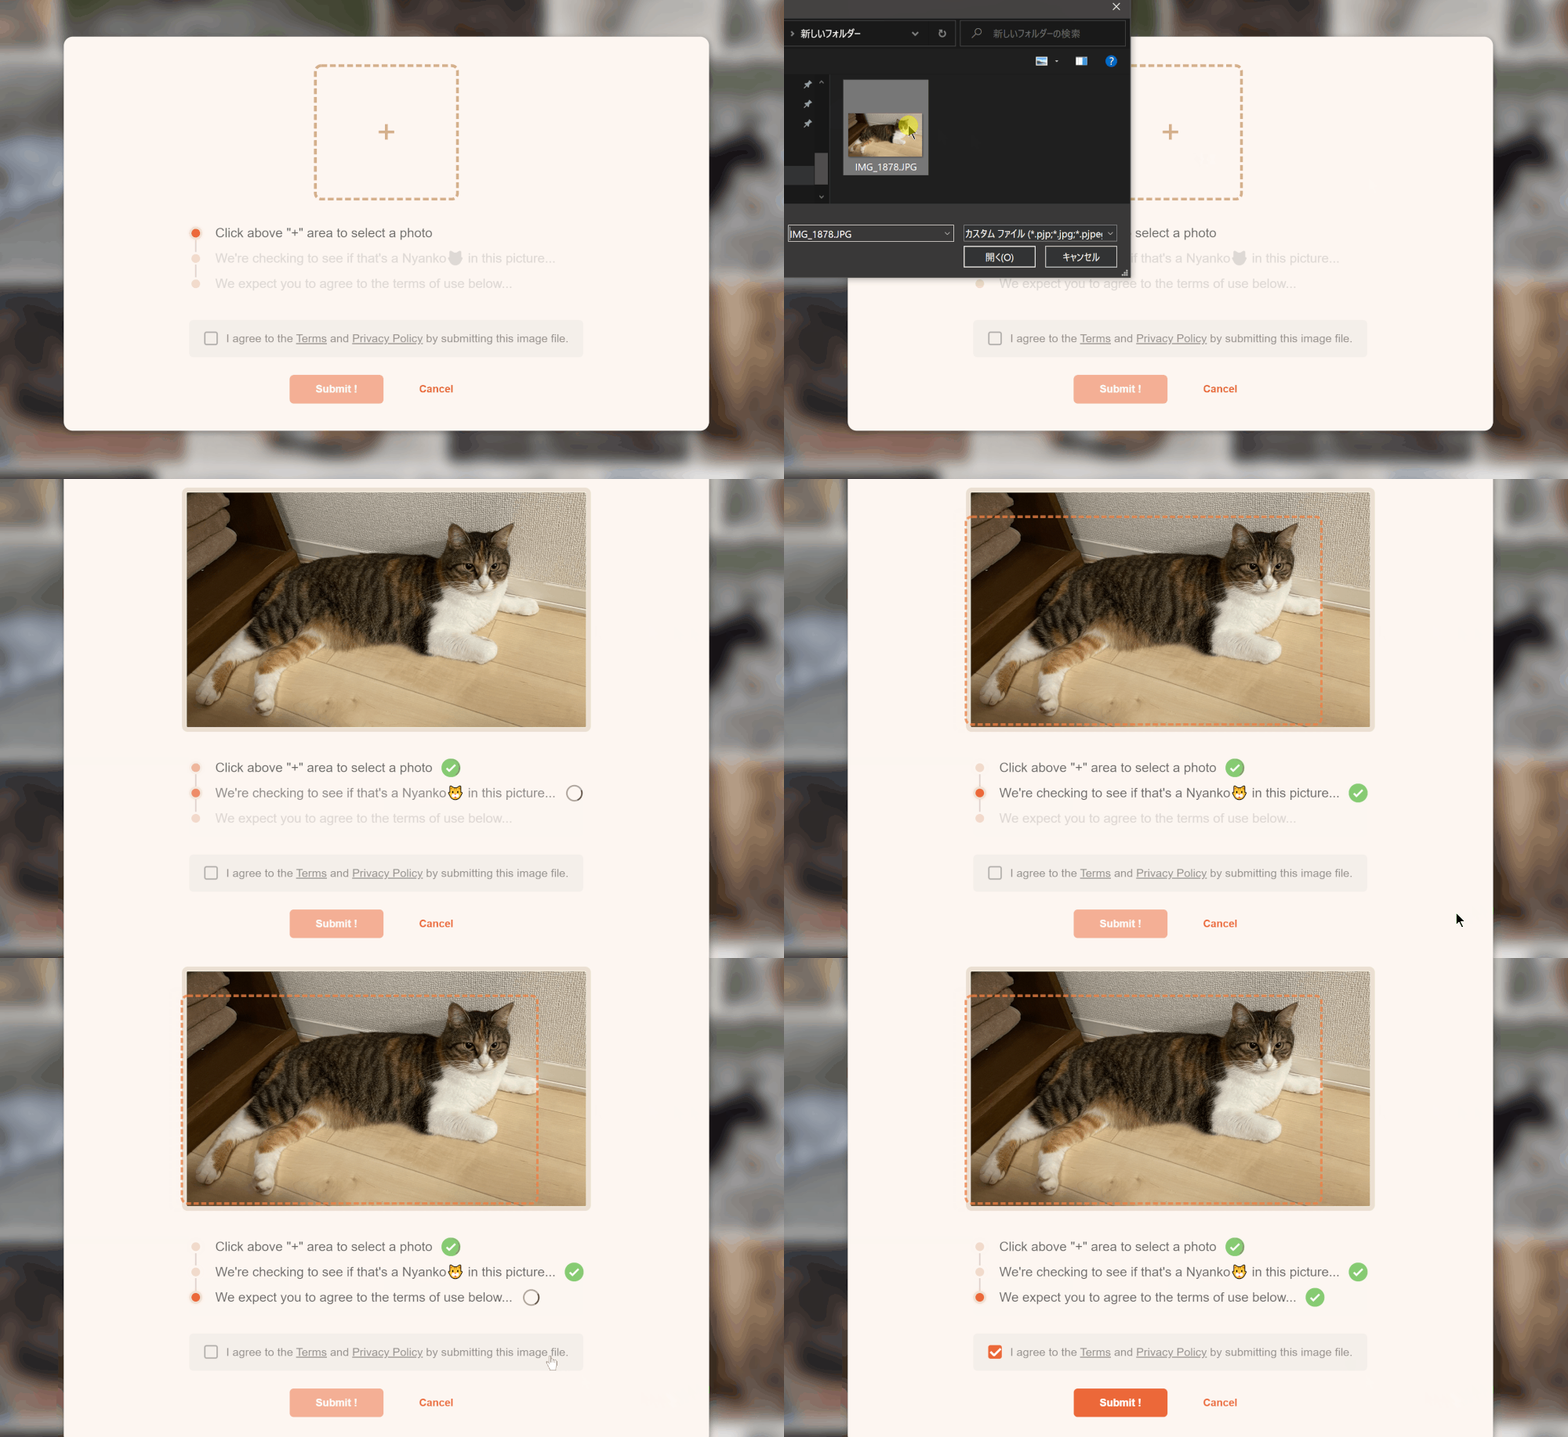
This also took a lot of time in detail. Implementing the front end really requires man-hours, isn't it? However, it's easy to be told that it's because of its appearance and design, so I could imagine the hardships of those who are doing it in practice ...
Photo Tile CSS
This is also not directly related to Vue, but I will write it here because it is a topic on the front end side.
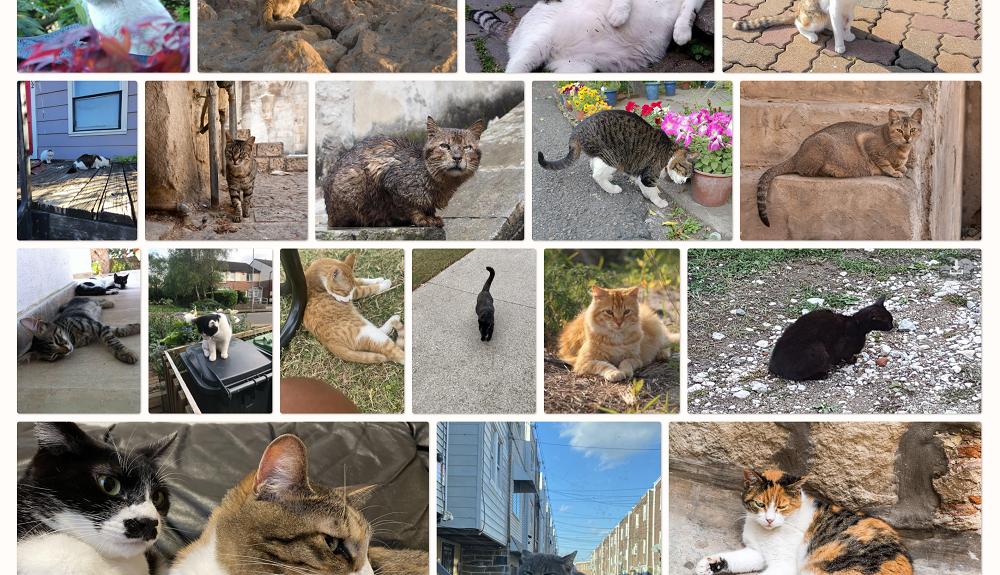
Designs like this are relatively common, so you might think, "Is it possible to write with simple CSS?"
However, that wasn't the case at all.
At first, I made a "design that unifies the width and arranges vertically" (see the figure below), but this is not possible because the array elements of the image do not advance horizontally and it is quite difficult to handle programmatically. I did.

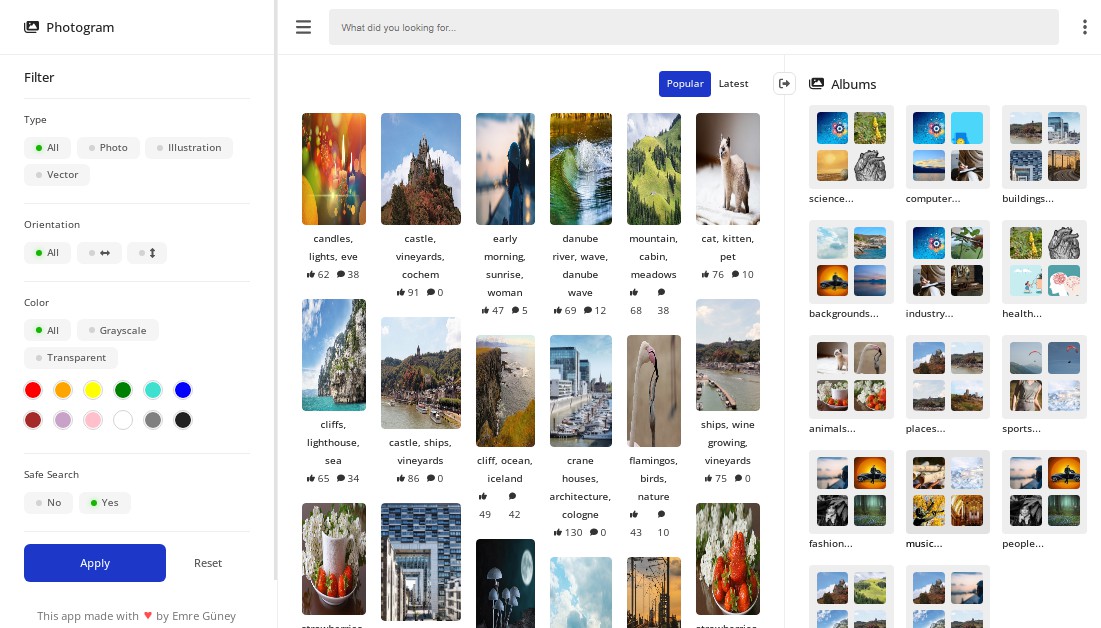
So I aimed for this "Google Photos" or "Adobe Stock" style design, but when I thought about writing it myself, I immediately stopped writing. Is it typing to stop?
So I was totally helped by this rather long [GitHub issue thread] (https://github.com/xieranmaya/blog/issues/6).
https://github.com/xieranmaya/blog/issues/6
In the end, it looks like this including JS.
<div class = "photo-wrap">
    <div class = "photo" v-for = "photo, index in photoArray": key = "photo": style = "{'width': photo.size.width * 200 / photo.size.height +'px' ,'flex-grow': photo.size.width * 200 / photo.size.height} ">
    <i: style = "{'padding-bottom': photo.size.height / photo.size.width * 100 +'%'}"> </ i>
    <img: src = "photo.src": alt = "photo.title" @click = "onClickPhoto (index)" @load = "loaded (index)" crossorigin = "Anonymous" />
</ div>
I think it has become a beautiful photo gallery!
By the way, I used spotlight.js for the image viewer.
https://github.com/nextapps-de/spotlight
I like the fact that it can be used properly depending on the format that allows it to react with markup and the method that can be used as an API. The simple design is also good.
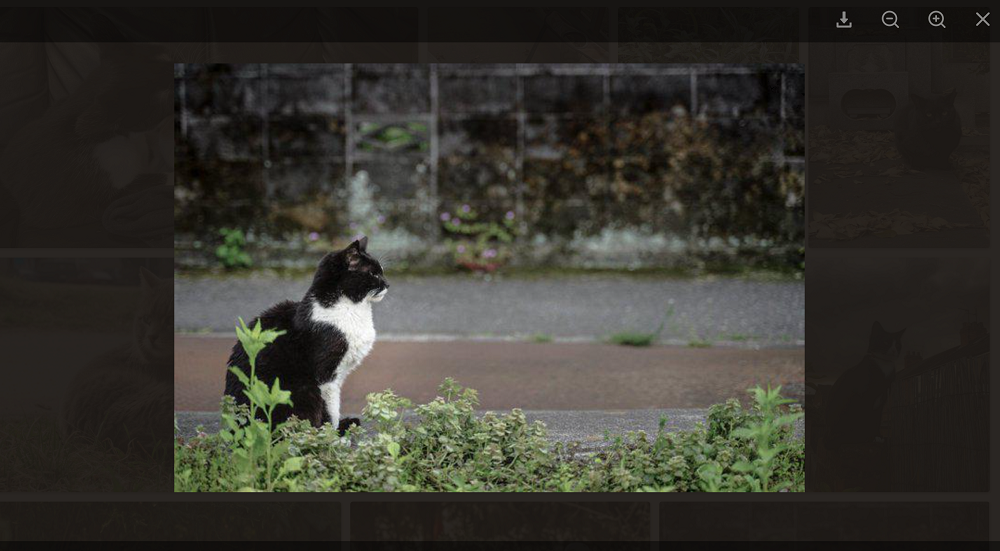
There were just a few bugs, and there were some scenes that had to be provisionally addressed with CSS. I'm continuously monitoring issues, so it may be fixed someday.
onClickPhoto (index) {
    Spotlight.show (this.photos, {
        index: index,
        animation: "slide, fade", // "play"
        control: "zoom, close",
        title: false,
        // play: 3, bug (http://github.com/nextapps-de/spotlight/issues/49)
        onshow: (index) => {
            Spotlight.addControl ("dl-btn", (event) => {
                execDownload (this.photos [index] .src);
            });
        },
        onclose: () => {
            Spotlight.removeControl ("dl-btn");
        },
    });
},
AWS SAM
I've been using SAM many times, so it's nothing new, but for the first time, I divided the environment into personal accounts and built the CI / CD pipeline accordingly.
In practice
--Development (dev)
--Verification (stg)
--Production (prd)
It is a common pattern to divide it into three, but I do not need it in the middle for individuals.
--Development (dev)
--Production (prd)
It was made.
AWS in Terms I'm worried that it doesn't fall under the "act of unreasonably trying to get a free usage quota".
If you or your entity have multiple accounts and are receiving additional benefits under this offer, you will not be eligible for this offer.
At Discussion Forums, he is relieved to find that AWS has officially answered the following.
Creating multiple accounts is not against the terms of service. It is OK to have different accounts for test and production systems, for example, or for separate business units which have completely distinct email sending that doesn't overlap. However, attempting to circumvent. service limits or policies is prohibited by the terms of service, and creating multiple accounts for the purpose of circumventing limits would be a violation of the TOS.
It's a very ordinary solution, so it's hard to imagine being blamed for doing it individually.
AWS Rekognition
I've never used AWS Rekognition for the first time.
I was surprised that it can be easily used with one API for face recognition and face image matching comparison as well as object labeling like this time. It's really cheap.
For example, the labeling detect_labels () is used as follows.
from boto3 import Session

session = Session (region_name = "ap-northeast-1")
client = session.client ("rekognition")

res = client.detect_labels (Image = {
    "Bytes": file
})
You can use the response data to display a bounding box in the image.
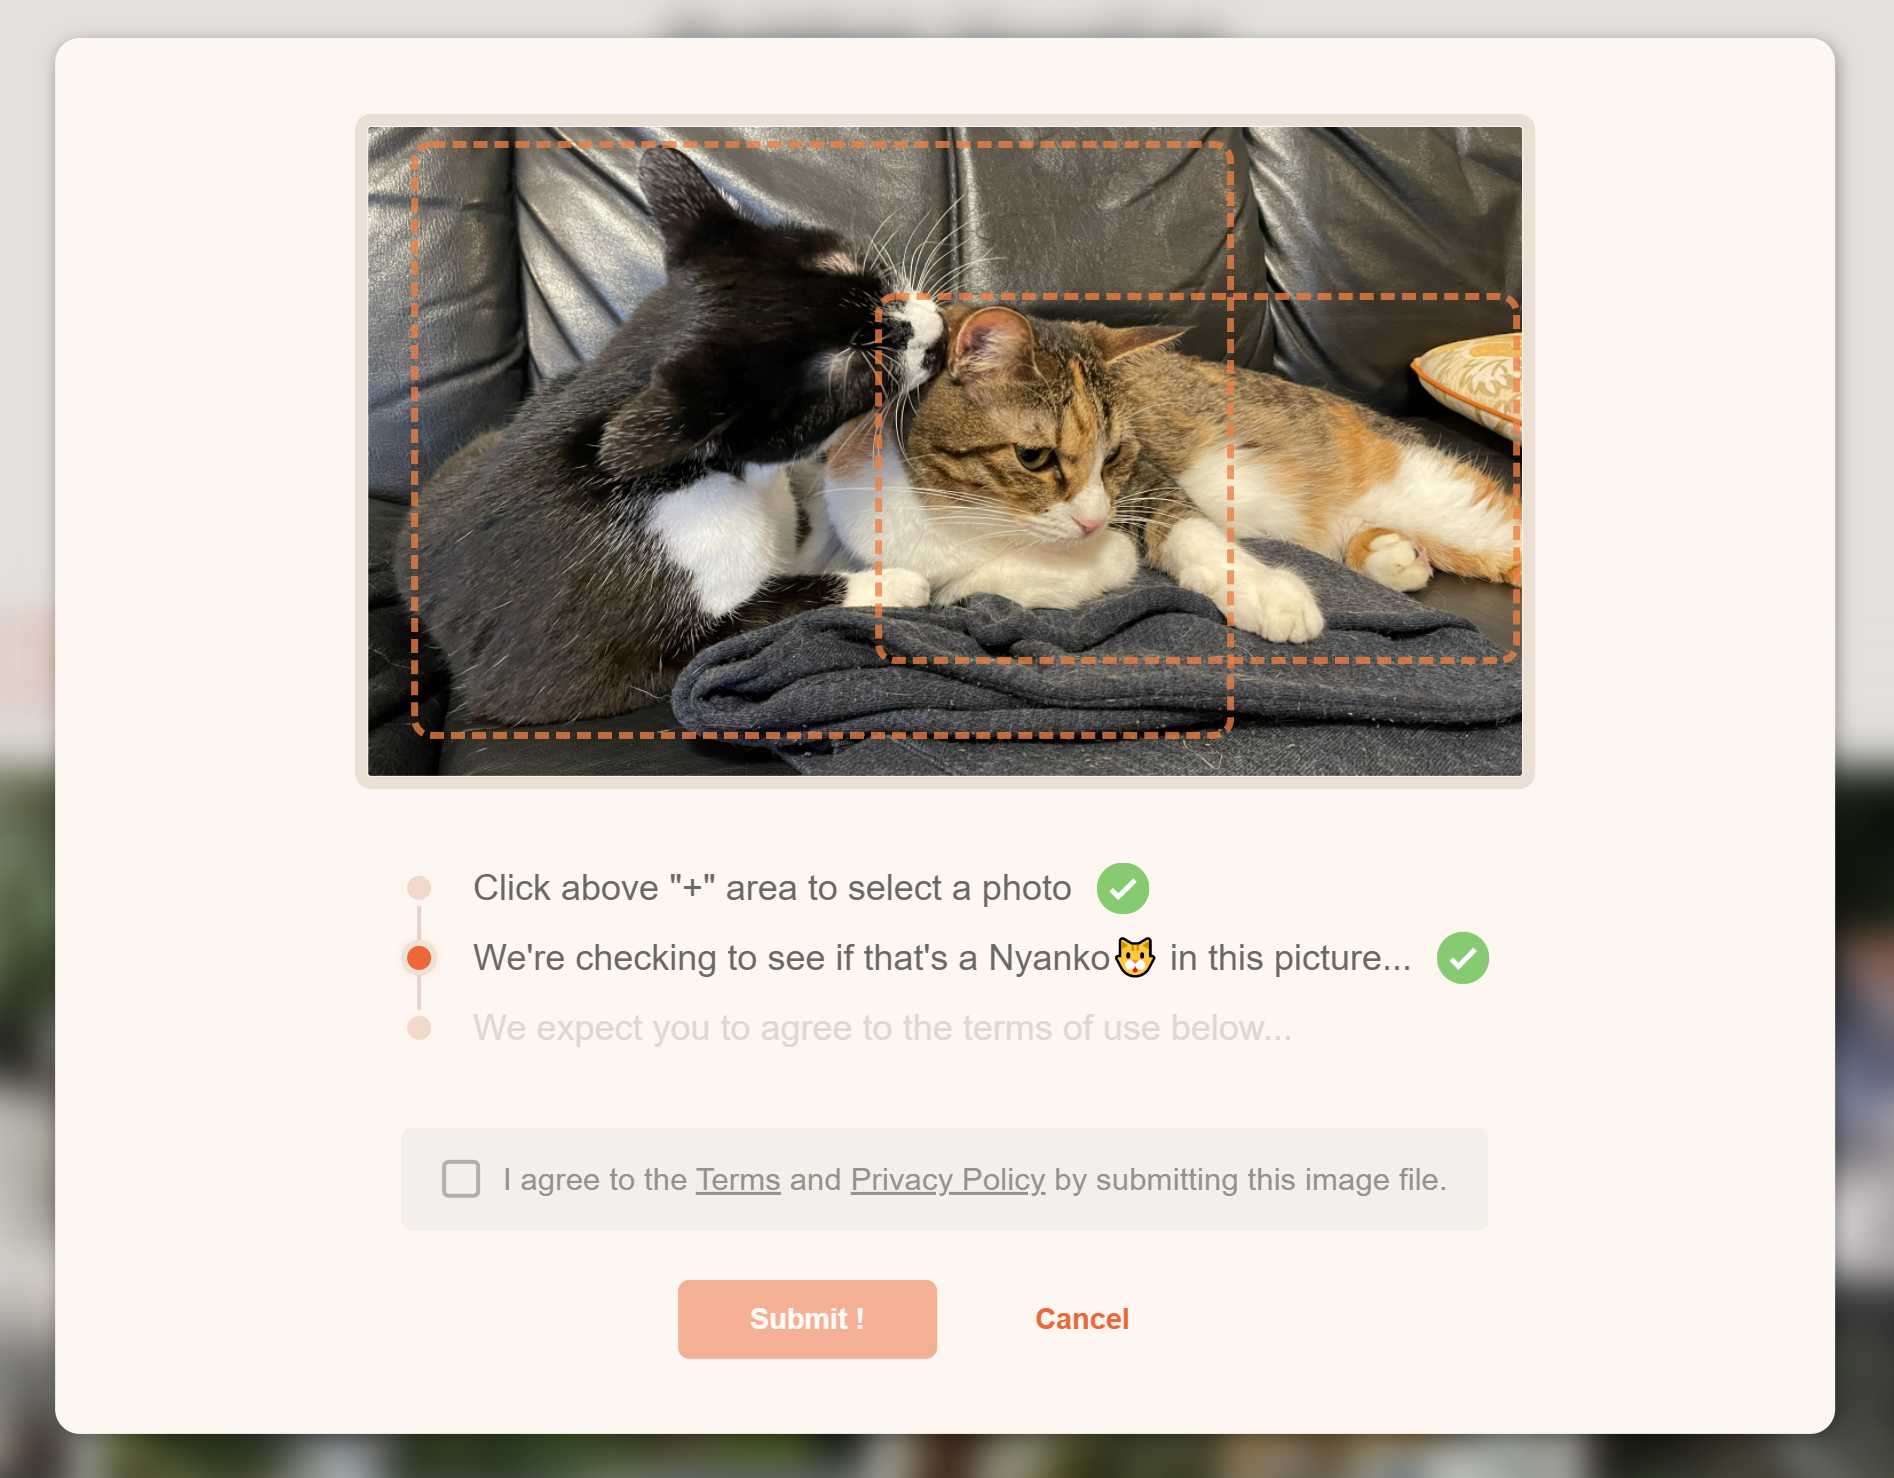
The API reference is below.
https://docs.aws.amazon.com/rekognition/latest/dg/API_Reference.html
However, in reality, it was easier to understand by looking at the SDK reference for each runtime. At least Python (boto3) did.
https://boto3.amazonaws.com/v1/documentation/api/latest/reference/services/rekognition.html
This time, I used it as the axis of the service, but I think that it is a service that can withstand practical use even as a simple filtering of "playing what you need". The response was about 200 ~ 300ms.
CI / CD
This time he did not use Code Build etc. and he only operated GitHub Actions.
Reason
――Since we had a system to separate the repository for the front end and the back end, we wanted to unify the tools used for both.
-The front end was deploying to the hosting server instead of his AWS, so there was no need to use AWS services
--Simply easy
It feels like.
Even if SAM only does sam deploy, it was my first time to deploy to a hosting server, so I struggled a little.
I'd like to do scp, but I wondered if he could use GitHub Actions scp-action. I couldn't control the directory structure well and ended up writing self-solid.
As a result, it became a fucking gorilla code, but it was a good study.
On the SAM side, the environment is divided by samconfig.toml as usual. Hooks to the production environment are only allowed to merge pull requests (this is the same for him on the Vue side).
--run: sam build --use-container
--if: $ {{github.ref =='refs / heads / main'}}
  run: sam deploy --no-confirm-changeset --no-fail-on-empty-changeset --config-env dev
--if: $ {{github.ref =='refs / heads / release / prd'}}
  run: sam deploy --no-confirm-changeset --no-fail-on-empty-changeset --config-env prd
Twitter API
I also created a Twitter account that will tweet the photo when a new ? is posted.
https://twitter.com/YourCat_photos/status/1462679063211147268
The server was written in Python, but her API on Twitter officially featured a package with the direct name TwitterAPI. I found it, so I used it.
https://developer.twitter.com/en
https://github.com/geduldig/TwitterAPI
from TwitterAPI import TwitterAPI

api = Twitter API (
        consumer_key,
        consumer_secret,
        access_token_key,
        access_token_secret
      )
api.request ('statuses / update', {'status':'This is a tweet!'})
As you can see, the four keys in the example used for OAuth authentication can be handled as they are, and you can already request a tweet in the next line.
Install with pip.
pip install Twitter API
Let's use this every time from now on.
in conclusion
I think there is personal development, but there is one that says, "If you have all the users, it will be wonderful."
From a business perspective, it's natural that it won't work without user content, but I have to be motivated to market it and spend money on it. There is no guarantee that amateurs can easily gather people just because they spend money.
That's why it would be sad if you didn't provide the Nyanko ? photos.
Author: みるみ
