Fabulous Notebook
Fabulous Notebook is a WYSIWYG notebook with an exciting paper and literature management system.
The UI design is based on the VFluent, which is inspired by the Microsft Fluent Design System.
The Application is Cross Platform and powered by Electron.
This project is still working on, we are welcome you to be a contributor. ?
? Why we need Fabulous?
The Fabulous aims to provide a complete article management and well-performanced notion user experience. We provide automatic retrieval of literature metadata, and our notebook supports rich text edition and even markdown typing (like typroa).
? Platform
- ✔ Windows 11 [Supported]
- ✔ Windows 10 [Supported]
- ✔ Mac(AMD64) [Supported]
? Usage
Installation
From the releases page, choose the lateset stable version and download the .zip file. Then unzip the file and choose the file named like fabulous_Setup_xxx.exe to setup the Fabulous.
First time useage
For the first time to start up, there is a user guide page. And don’t worry, just follow the guide page step by step, it’s easy and quick to finish the set up. Just click the Start button to move on.
In this step, you’re going to add a new data source. And you need to choose folder to create the new data source folder.
A data source is a physical folder to store all the files, and the database would be store in the
data_structure.jsonfile. Of course, you don’t need to be concerned about what’s in the folder, and I don’t suggest you change the files in the folder, just ignore it, everything is work fine by Fabulous?.
Or, if you already have a data source folder and you want to link to it, you can click the Exists Data Source button to switch the mode.
And you can select the exists data source root folder to link it. Make sure the folder is the one contains root/ folder and data_structure.json.
When you’re ready, just click Confirm to finish setup.
Articles Management
- All your articles can be found in the
Allpage, you can add newPartitionto collect your domain specific articles. And you can also add newGroupto collect multiplePartitions.
- The root
PartitionorGroupcan be add by the belowAddbutton. The groupPartitionscan be create by right click the currentGroup.
You should be known that the
Groupcan’t directly contain the articles, it is just a collection ofPartition. You can create groups nested, however, the Fabulous database is constructed based on a lightwight database. Therefore nesting too deeply may cause performance decrease.
Add Articles
-
You can click the
Importbutton to import articles in eachPartitionpage. Fabulous would automatically create anItemfor each article. -
You can even drag the
pdffiles into the application, the function is the same asImport.
-
Each
Itemcontains the articlepdffile,metadatafile, andNote Pages. -
You can manaully add a new
Itemby clickAddbutton, if sometimes you don’t wanna add a article but only want to write something on theNote Page, you can use this method.
The article title extraction is implemented by two methods, one is the
font sizeandpositionof first page to extract the title. The title extraction accuracy is acceptable, and if anyone has a better idea, we are welcome you to be a contributor. ?
The article metadata extraction is powered by the CrossRef API, there are still many articles can’t be retrieved for metadata, if you have better free sources please let us know.
Note Page
Our notebook editor is implemented with the PowerEditor, which is powered by tiptap.
It’s exciting to show that our editor support rich text editing, and Markdown Shortcuts. The extension function of our editor can be displayed as follows:
- Font Style (Bold, Italic, Strike, Underline)
- Block Quote
- Horizontal Rule
- Header
- To-do Task List
- Order List
- Text Align
- Text Color
- Text Highlight
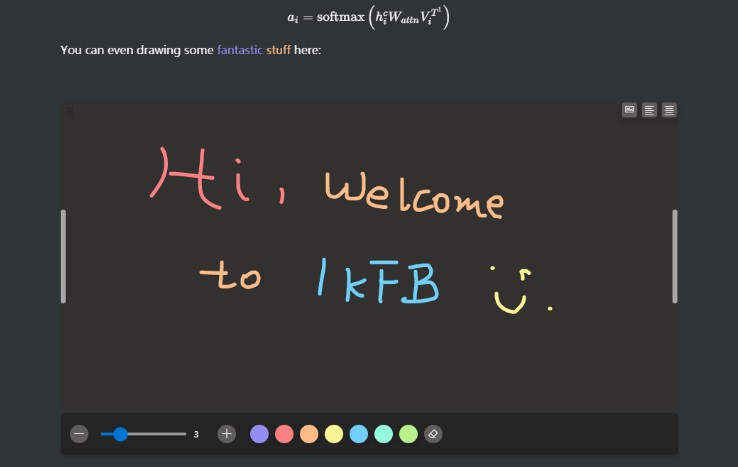
- Drawing Block
- Emoji
- Code
- Inline Equation
- Block Equation
- Image
- Link
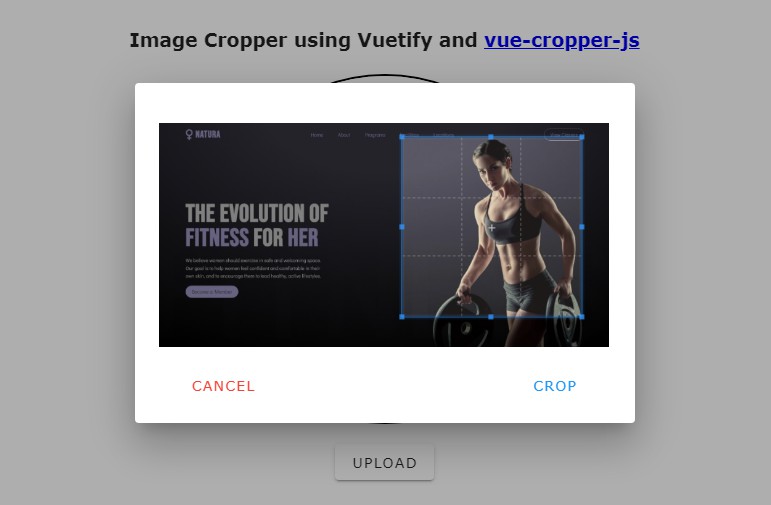
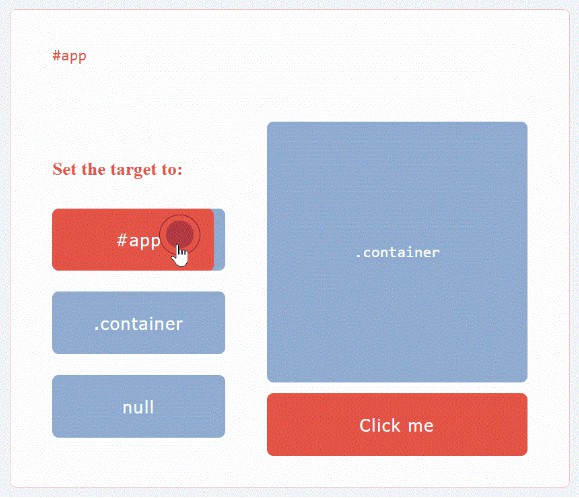
- Embed
Data Source Recover
If you want to add some new data sources or recover your data source in a new device, just follow the below steps:
-
Click the
Settingbutton to enter the Setting page. -
In the Source block, click
Add New Sourcebutton to link to a existing souce. -
Please make sure the data source folder is the one contains a
data_structure.jsonfile and aroot/folder.
-
If you choose the wrong folder without
data_structure.json, there will appear a yellow button to warn you that there is nodata_structure.json.If you mistake the right folder position, just remove this source and choose the right folder again, do not click the yellow button !!!
-
If you want to add a new empty source, please create an empty folder for the data source and choose this folder. Then click the yellow button to init a new data source.
-
You can switch the current data source by clicking each item of the source list.
? Project setup
npm install
or
yarn
Compiles and hot-reloads for development
npm run electron:serve
yarn electron:serve
Compiles and minifies for production
npm run build
or
yarn build
Lints and fixes files
npm run lint
or
yarn lint
? Doc
File Structure
-
Config
- config.json
-
Data Structure
- root/
- fabulous_files/
- items[i]
- *.ipcnb
- items[i]
- data_structure.json
- fabulous_files/
- root/
Data Structure
Init Function
-
load_ds_file
load_ds_file(data_path=[])
=> {
    status,
    dbXList: [{
        status,
        db
    }]
}
- status:
200: success.404: data_path is empty.500: source url not found.502: data_structure.json not found.
- dbXList: A array of each source object, each object contains the current ds’ db and status.
- db: A data_structure’s lowdb DataStore.
- status:
-
init_ds
init_ds(id, name, ds_db)
=> default
License
GPL 3 License
Copyright (c) 2021 Creator SN®
