A Year in Music
Learn how to use Contentful by keeping track of your favorite albums per month. Built using Nuxt.js and Contentful.

Setup Links
See how to setup here
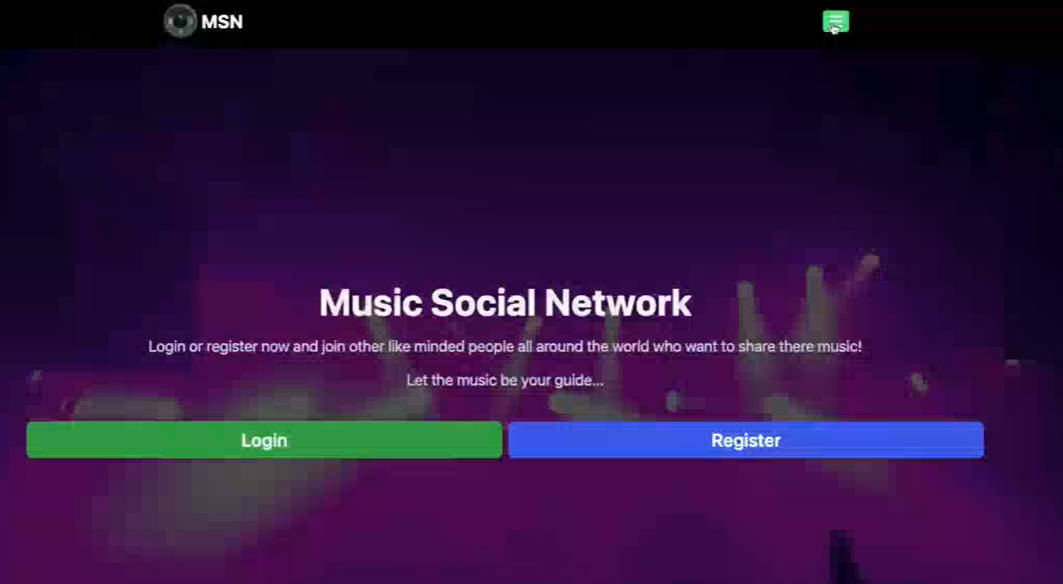
Example Demo
View live demo here
Getting Started
Clone this repository to create your own version of this project.
Configuration
Step 1. Create an account and a space on Contentful
First, create an account on Contentful.
After creating an account, create a new empty space from the dashboard and assign to it any name of your liking. If you already have a Contentful space, you can add the content model needed for this project to your existing space.
Step 2. Create a content model
The content model defines the data structures of your application/websites. The structures are flexible and you can tailor them to your needs.
For this example you need to create a content model that defines an album. You can create this by running a script or by doing it manually to familiarize yourself with the Contentful user interface.
Run a script to create the content model
This project includes a setup script which you can use to set up the content model expected by the source code.
In your Contentful dashboard go to Settings > General Settings and copy the Space ID.
Next, go to Settings > API > Content management tokens and create a new token by clicking Generate personal token. This token has the same access rights as the logged in user. Do not share it publicly, you will only use it to set up your space and can delete it afterwards.
With the space ID and management access token at hand run the following command:
npx cross-env CONTENTFUL_SPACE_ID=YOUR_SPACE_ID CONTENTFUL_MANAGEMENT_TOKEN=XXX npm run setup
This command will create the needed content structures and set up your Contentful space ready to use. The output should look as follows:
> node ./contentful/setup.js $CONTENTFUL_SPACE_ID $CONTENTFUL_MANAGEMENT_TOKEN

┌──────────────────────────────────────────────────┐
│ The following entities are going to be imported: │
├─────────────────────────────────┬────────────────┤
│ Content Types                   │ 2              │
├─────────────────────────────────┼────────────────┤
│ Editor Interfaces               │ 2              │
├─────────────────────────────────┼────────────────┤
│ Locales                         │ 1              │
├─────────────────────────────────┼────────────────┤
│ Webhooks                        │ 0              │
├─────────────────────────────────┼────────────────┤
│ Entries                         │ 0              │
├─────────────────────────────────┼────────────────┤
│ Assets                          │ 0              │
└─────────────────────────────────┴────────────────┘
 ✔ Validating content-file
 ✔ Initialize client (1s)
 ✔ Checking if destination space already has any content and retrieving it (2s)
 ✔ Apply transformations to source data (1s)
 ✔ Push content to destination space
   ✔ Connecting to space (1s)
   ...
   ...
   ...
Create the content model manually
Create an Album content type
From your contentful space, go to Content model and add a new content type:
- Give it the Name
Album, the Api Identifier should bealbum
Once the content model is saved, add these fields (you don’t have to modify the settings unless specified):
Name– Text field (type short text).Slug– Text field. Go to the settings of this field, and under Appearance, select Slug to display it as a slug of thetitlefield.Album Cover– Media field (type one file).Release Year– Number fieldArtist Name– Text field (type short text).Favorite Month Year– Date fieldThoughts– Text field (type long text)Mood– Text field (type short text list).Type– Text field (type short text list).Language– Text field (type short text list).
Save the content type and continue.
Step 3. Validate your content model
After setting up the content model (either manually or by running npm run setup or yarn setup), it should look as follows.
Content model overview

Step 4. Populate Content
Go to the Content section in your space, then click on Add entry and select the Album content type:
- You just need at least one album to start.
- For album information, use a website like Last.fm.
Important: For each entry and asset, you need to click on Publish. If not, the entry will be in draft state.

Step 5. Set up environment variables
From your contentful space, go to Settings > API keys. There will be an example Content delivery / preview token – you can use these API keys. (You may also create a new key.)
Next, copy the .env.local.example file in this directory to .env.local (which will be ignored by Git):
cp .env.local.example .env.local
Then set each variable on .env.local:
NUXT_CONTENTFUL_SPACEshould be the Space ID field of your API KeyNUXT_CONTENTFUL_CONTENT_DELIVERY_ACCESS_TOKENshould be the Content Delivery API – access token field of your API key
Your .env.local file should look like this:
NUXT_CONTENTFUL_SPACE=...
NUXT_CONTENTFUL_CONTENT_DELIVERY_ACCESS_TOKEN=...
Step 6. Start the server
npm install
npm run dev

# or

yarn install
yarn dev
Your project should be up and running on http://localhost:3000!
Step 7. Deploy your project
You can deploy this app to your prefered hosting service such as Netlify or Vercel.
Important: When you import your project on Netlify or Vercel, make sure to add the Environment Variables and set them to match your .env.local file.