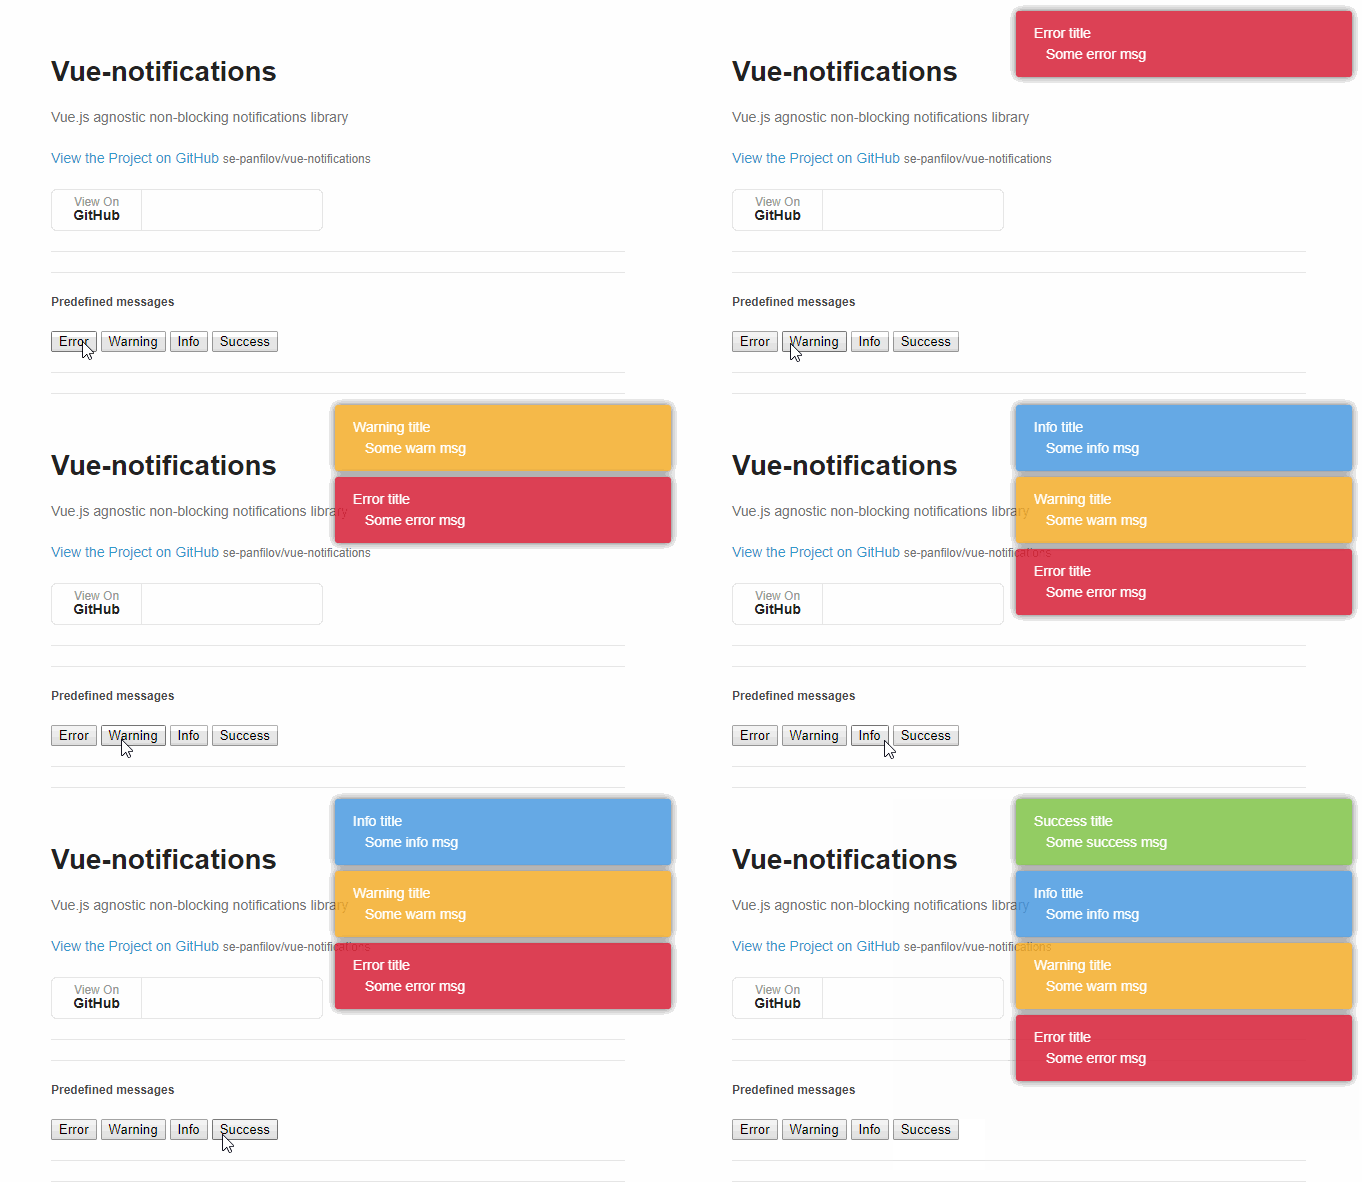
vue-notifications
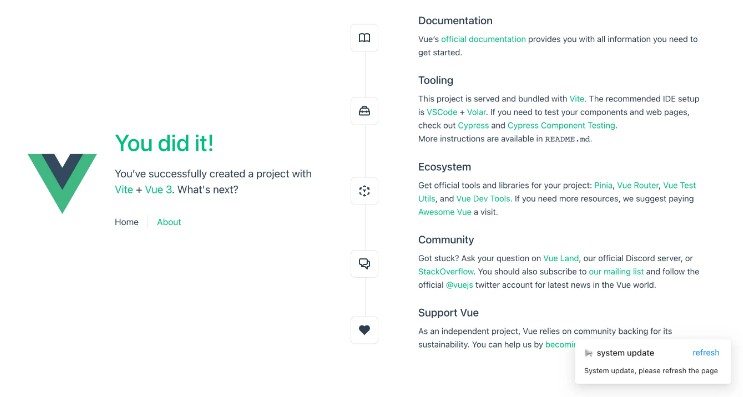
VueNotifications - agnostic non-blocking notifications library, that allow you to use notifications in declaration style.
Installation
via npm:
npm i vue-notifications --save
via bower:
bower i vue-notifications --save
or download [latest release][1]
include in project:
import VueNotifications from 'vue-notifications'
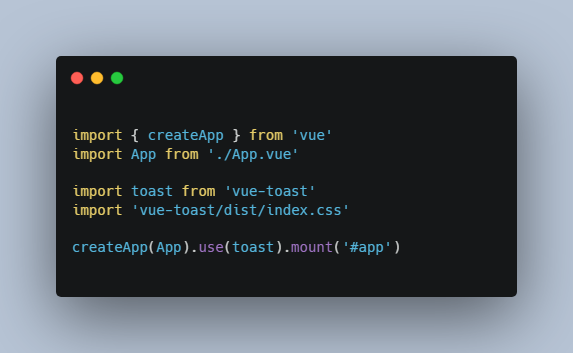
Vue.use(VueNotifications, options)
Setup and configuration
Attention: By default VueNotification send all messages to console. To activate non-blocking notifiction you've got to use third-party library, like toasr. I suggest you to use [mini-toastr][2] (npm i mini-toastr --save)
// Include Plugin in project
import VueNotifications from 'vue-notifications'

// Include mini-toaster (or any other UI-notification library
import miniToastr from 'mini-toastr'

// If using mini-toastr, provide additional configuration
const toastTypes = {
  success: 'success',
  error: 'error',
  info: 'info',
  warn: 'warn'
}

miniToastr.init({types: toastTypes})

// Here we setup messages output to `mini-toastr`
function toast ({title, message, type, timeout, cb}) {
  return miniToastr[type](message, title, timeout, cb)
}

// Binding for methods .success(), .error() and etc. You can specify and map your own methods here.
// Required to pipe our output to UI library (mini-toastr in example here)
// All not-specified events (types) would be piped to output in console.
const options = {
  success: toast,
  error: toast,
  info: toast,
  warn: toast
}

// Activate plugin
Vue.use(VueNotifications, options)// VueNotifications have auto install but if we want to specify options we've got to do it manually.
// THIS ISN'T REQUIRED IF YOU DON'T USE 'mini-toastr'
// and if you would use "miniToastr" you have to init in in your App.vue
import miniToastr from 'mini-toastr'// don't forget to make "npm i mini-toastr --save"

//in 'ready section
//  ...
    ready () { //'mounted' instade of ready for Vue 2.0
      miniToastr.init()//or "miniToastr.init(miniToastrConfig)" if you want to specify configuration
    },
//  ...
If you want to setup VueNotification's global configuration, you can do it simple:
VueNotifications.config.timeout = 4000
Vue.use(VueNotifications, options)
Also you can use any other word instead of notifications for configs:
VueNotifications.propertyName = 'messages'
Vue.use(VueNotifications, options)
Usage
You've got to specify notifications config:
export default {
    name: 'DemoView',
    data () {
      //...
    },
    computed: {
      //...
    },
    methods: {
      //...
    },
    notifications: {
      showLoginError: {
        title: 'Login Failed',
        message: 'Failed to authenticate',
        type: 'error' //Default: 'info', also you can use VueNotifications.type.error instead of 'error'
      }
    },
    vuex: {
      //...
    }
  }
Now you can call this.showLoginError() in any place of this page (i.e. in methods, or whatever).
You also can call .success(), .error() and other methods directly (for example in JavaScript files):
In some.js:
  import VueNotifications from 'vue-notifications'
  VueNotifications.error({message: 'Some Error'})
Overriding config.
Even if you have specify config, you can ovverride it in any call simple by sending config object: this.showLoginError({type: 'warn'}). i.e.:
 notifications: {
      showLoginError: {
        message: 'Failed to authenticate',
        type: 'error'
      }
    }

this.showLoginError() //error message
this.showLoginError({type: 'warn'}) //info message

//Also you can send here whatever params. All would be passed down to `mini-toastr` or any other lib.
Keep in mind that configs merging by `Object.assign` (no deep copying).
