vue-highlights
Easy @mention, #hashtag and URL highlight for Vue 2.x.
Installation
You can install via npm or yarn:
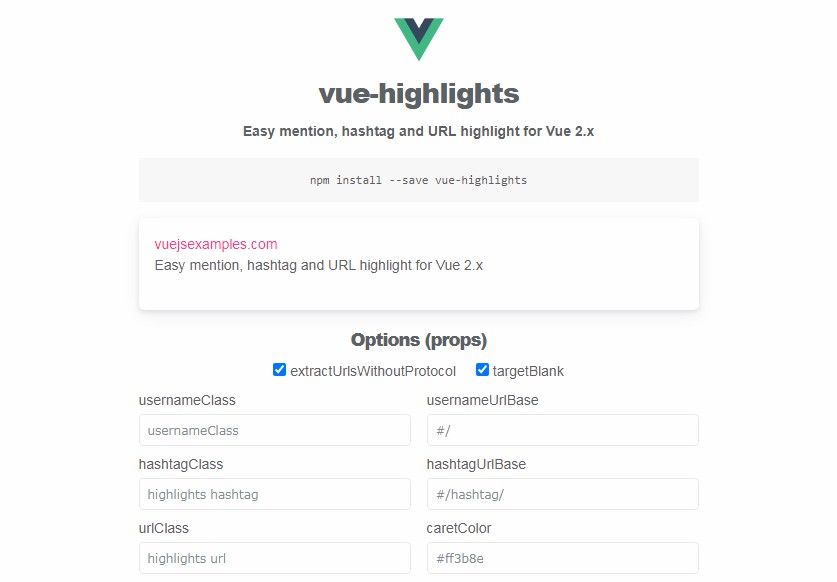
npm install --save vue-highlights
yarn add vue-highlights
And then import the component in your app:
import Vue from 'vue'
import VueHighlights, { autoLink, autoHighlight } from 'vue-highlights'

// Install component
Vue.component(VueHighlights.name, VueHighlights)
You can check a demo here: pggalaviz.github.io/vue-highlights
Usage
Let's create our first component:
<template>
  <vue-highlights
    v-model="text"
    :extractUrlsWithoutProtocol="true"
    caretColor="#ccc"
    placeholder="My custom placeholder..."
    usernameClass="my-username-class"
    hashtagClass="my-hash-class"
    urlClass="my-url-class"
  />
</template>

<script>
export default {
  name: 'MyComponent',
  data () {
    return {
      text: text
    }
  }
}
</script>
As you can see, the component accepts some props:
| Prop | Type | Description |
|---|---|---|
| value | String | The text to highlight (v-model). |
| extractUrlsWithoutProtocol | Boolean | As the name says, when active, the compoponet will try to match URLs even when a protocol (http://, https://) is not found. Defaults to true |
| caretColor | String | A valid HEX color (eg. #ccc, #ff4545). |
| placeholder | String | A placeholder to show when no text is entered. |
| usernameClass | String | The CSS class(es) that will be added to a @username match. |
| hashtagClass | String | The CSS class(es) that will be added to a #hashtag match. |
| urlClass | String | The CSS class(es) that will be added to a URL match. |
The exported component (vue-highlights) renders a text input that highlights all username, hashtag and URL matches. In order to work with this input some CSS classes should be attended, here's an example:
.highlights__content {
  position: relative;
}

.highlights__placeholder {
  color: #ccc;
  position: absolute;
  top: 16px;
  left: 16px;
  z-index: -1;
}

.highlights__body-container {
  border-radius: 5px;
  border: 1px solid #eaeaea;
  padding: 16px;
}

.highlights__body {
  min-height: 60px;
}

.highlights {
  color: #ff3b8e;
}
With this we should get a working example.
As you can see when we first imported the package, 2 functions are also exported: autoLink and autoHighlight.
Both return a String value which contains our highlighted text. autoLink returns the matches found between anchor tags for links. autoHighlight returns the matches found between span tags for highlight only.
Examples
import { autoLink, autoHighlight } from 'vue-highlights'

const text = 'my @username, my #hashtag and myurl.com'

const autoLinked = autoLink(text, {
  extractUrlsWithoutProtocol: true, // Defaults to true
  targetBlank: true, // Defauls to true, applies only in URLs
  usernameClass: 'username-class',
  usernameUrlBase: '/users/',
  hashtagClass: 'hashtag-class',
  hashtagUrlBase: '/myhashtags/',
  urlClass: 'url-class'
})

/*
autoLinked:
my <a href="/users/username" title="@username" class="username-class"
data-username="username">@username</a>, my <a href="/myhashtags/hashtag"
title="#hashtag" class="hashtag-class" data-hashtag="hashtag">#hashtag</a>
and <a href="http://myurl.com" target="_blank" class="url-class">myurl.com</a>
*/

const autoHighlighted = autoHighlight(text, {
  extractUrlsWithoutProtocol: true, // Defaults to true
  usernameClass: 'username-class',
  hashtagClass: 'hashtag-class',
  urlClass: 'url-class'
})

/*
autoHighlighted:
my <span class="username-class">@username</span>, my <span class="hashtag-class">
#hashtag</span> and <span class="url-class">myurl.com</span>
*/
Now we can render our linked/highlighted text anywhere we like:
<template>
<div class="my-linked-text">
  <div v-html="text"></div>
</div>
</template>

<script>
import { autoLink } from 'vue-highlights'

const rawText = 'my @username, my #hashtag and myurl.com'
const autoLinked = autoLink(rawText) // Uses default options

export default {
  name: 'MyComponent',
  data () {
    return {
      text: autoLinked
    }
  }
}
</script>