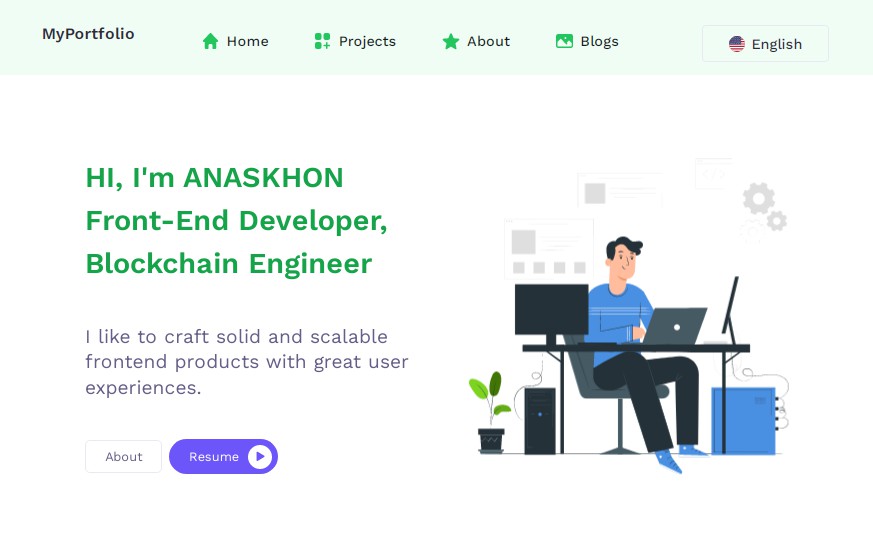
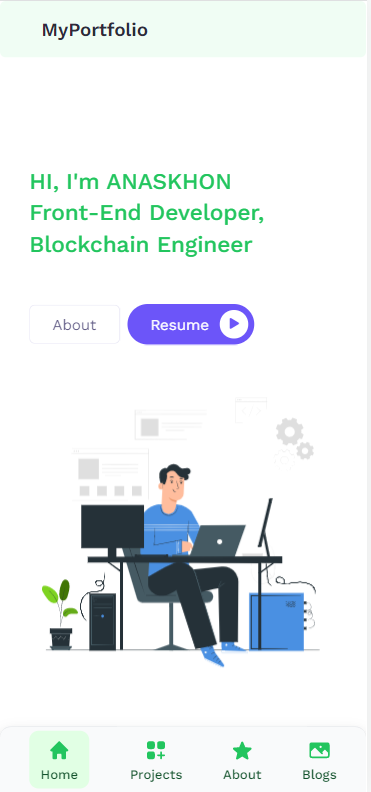
Personal Portfolio
My personal portfolio built with Vue, Bootstrap & Firebase. Everything is included. Written in VueJS, Bootstrap and Tailwind CSS!


Porftolio URL
Features [특징]
-
Simple and responsive design
-
Vue.js v3 with Vue Router
-
Vue transitions
-
Reusable Components
-
Projects carousel
-
Vue.js smooth scroll
-
V-motion Animations
-
Firebase Config, Hosting
-
Responsive Bottom Navbar
Installation
-
Make sure you have NodeJS installed.
- Download it from nodejs.org
- Install it using NVM
- If you’re on Mac, Homebrew is a good option too:
brew install node
-
Clone the repo:
git clone https://github.com/anaskhonprime/vuejs-tailwind-portfolio.git
-
Open the folder:
cd vuejs-tailwind-portfolio
-
Install packages and dependencies:
npm install
-
Start a local dev server at
http://localhost:8080:
npm run serve
TOP 10 Interesting Informations Everyone Can Use
1.Firebase Config [ v8 version ]
import firebase from "firebase/compat/app";
import "firebase/compat/auth";
import "firebase/compat/firestore";


const firebaseConfig = {
    apiKey: "",
    authDomain: "",
    databaseURL: "",
    projectId: "",
    storageBucket: "",
    messagingSenderId: "",
    appId: "",
    measurementId: "",
};

const firebaseApp = firebase.initializeApp(firebaseConfig);

const db = firebaseApp.firestore();
const auth = firebase.auth();

export { auth, db };
2.Firebase Firestore Init 문제 [ v8 version ]
오류 내용
=== Firestore Setup

Error: It looks like you haven't used Cloud Firestore in this project before.
Go to https://console.firebase.google.com/project/vueblog-13514/firestore
to create your Cloud Firestore database.
문제 해결
- Firebase 대시보드에서 프로젝트 설정 -> 일반으로 이동합니다.
- 기본 GCP 리소스 위치를 다시 설정합니다.
3.VueJs a 테그의 href 값이 List Rendering 하는 법
data.js 파일에 담아진 데이터 자료들 v-for 사용해서 링크 연결할 때 우리가 익숙한 이 방법으로 안되는 경우 있습니다.
<a href="{{ link }}">READ MORE</a>
Vue에서 HTML의 속성에는 {{ mustached }}를 사용할 수 없습니다. 위처럼 사용하고 싶으면 v-bind 디렉티브를 사용 해야 됩니다.
<a :href="project.link">READ MORE</a>

OR

<a v-bind:href="project.link">READ MORE</a>
4.Vuejs Image List Rendering
<img :src="blog[i].profile" />
5.Responsive Design Buttom Navbar
Responsive Design 만들때 예를 들어, 모바일로 접속했을때만 보이는 Bottom Navbar 보여주고 싶을때 Tailwind CSS 기능 2개만 있으면 쉽게 됩니다.
class= "flex lg:hidden"
6. v-motion 사용
Vuejs으로 Scroll Animation 추가했을때 v-motion을 쉽게 사용할수 있습니다.
Installation | 설치
npm add @vueuse/motion
Global Setting | 세팅
import { MotionPlugin } from '@vueuse/motion'

const app = createApp(App)

app.use(MotionPlugin)

app.mount('#app')
Using Guide | 사용법
div 테그 안에 다음 4줄 코드만 추가하면 개발 시간이 10배 적게 듭니다.
x는 옆 방향으로 이동하면 y은 밑에서 나올때 사용할 수 있습니다
v-motion
:initial="{ opacity: 0, x: 200 }"
:visible="{ opacity: 1, x: 0 }"
:delay="800"
7. Lottie Player Animation Icons
웹사이트를 개발하다 보면 이미지를 추가해야 할 일이 정말 많습니다. 하지만 막상 이미지를 추가하면 뭔가 허전하고, 이미지가 움직였으면 좋겠다 라는 생각이 들 때가 있습니다.
이럴 땐 Lottie Web Player를 사용하여 손쉽게 움직이는 이미지를 추가할 수 있습니다. 이번 시간엔 Lottie Web Player를 사용하는 방법에 대해 포스팅 하도록 하겠습니다.
[Lottie Animated Icons ](https://lottiefiles.com/featured)
<lottie-player
 src="https://assets2.lottiefiles.com/packages/lf20_u4jjb9bd.json"
 background="transparent"
 speed="0.5"
 style="max-width: 550px; max-height: 550px"
 loop autoplay>
</lottie-player>
8. Vue-Router Starts Middle Page
Vur Router으로 페이지 이동할 때 다음 페이지 시작 부분 아니라 가운데에서 시작하면 다음 간단한 코디를 사용하면 됩니다.
Scroll 상태 관리
const router = createRouter({
    history: createWebHistory(),
    routes,

    scrollBehavior(to, from, savedPosition) {
        return { top: 0 }
    },
    linkActiveClass: 'vue-school-active-link',

});
9.ESLint 오류 해결
==> vue.config.js , lintOnSaved을 상태 추가
module.exports = defineConfig({
    transpileDependencies: true,
    lintOnSave: false,
});
10. Vue Router Active
페이지 이동할때 현재 router 값을 active으로 보여주고 싶을때 다음 간단한 기능을 사용 가능합니다.
src/router.js 으로 linkActiveClass 기능 추가
const router = createRouter({
    history: createWebHistory(),
    routes,
    scrollBehavior(to, from, savedPosition) {
        return { top: 0 }
    },

    //linkActiveClass 기능 추가

    linkActiveClass: 'vue-prime-active-link',

});

export default router;
==> components/Navbar.vue style 테그로 스타일 완성하면 이동할때마다 active으로 바꿉니다.
<style>
.vue-prime-active-link {
  background-color: rgb(225, 255, 228);
  padding: 5px 12px;
  border-radius: 10px;
  text-decoration: none;
}
</style>