CuratedStack Nocode Template
? Free & open-source template to create a curated directory of websites without (or with) code

? Check the demo website
? Features
CuratedStack Nocode Template comes with pre-installed features and options:
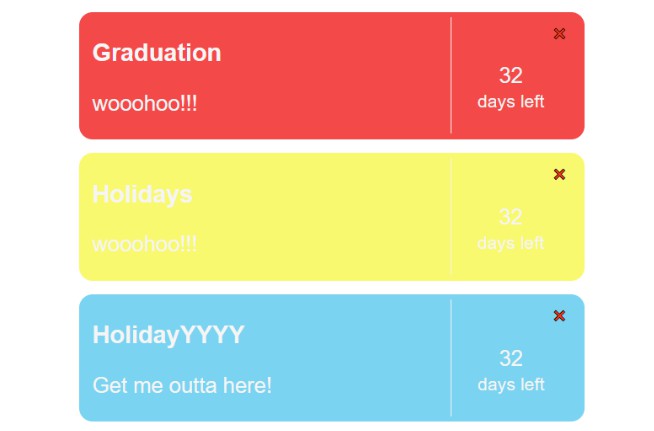
- ? List all your favorite websites by category
- ?? No-code friendly using Netlify CMS (check the below tutorial)
- ? Search bar and index generated automatically (using Lunr.js)
- ? Automatic dark theme
- ? Floating Prompt (for Product Hunt or anything else)
- ? Google Analytics (gtag)
- ? Installable as a Progressive Web App
- ? Script to analyze your links & categories
- ? Script to download websites logos automatically
✨ Demo
Check out websites using the CuratedStack Nocode Template:
? How to use
The no-code way – Easy way
- Go to https://t3mpl.n4no.com/editor/
- Use the right panel to edit the content
- Press “Publish” then “Save website as .zip”
- The full website will be inside the zip, you can host it wherever you want
The no-code way – Advanced way (with Netlify CMS)
Take advantage of Netlify CMS for hosting and updating your website without code.
Nevertheless a few options needs to be activated in order to get started, just follow the instructions below.
-
Add your project in Netlify using this button (and follow the steps):
1.1. Once done you will see the link to your website, you can later on customize your website name or even add your own domain name.
-
Enable Identity and Git Gateway by following these instructions (full instructions here: https://www.netlifycms.org/docs/add-to-your-site/)
2.1. Go to Netlify and go to your brand new deployed website, then Settings > Identity, and select Enable Identity service.
2.2. Under Registration preferences, select Invite only.
2.3. Click on Invite users and add your email, press Send you will receive a link by email to create an account.
-
Go to Services > Git Gateway, and click Enable Git Gateway. This authenticates with your Git host and generates an API access token. In this case, we’re leaving the Roles field blank, which means any logged in user may access the CMS.
-
Go to your website name and add
/adminat the end of the url, you will be redirected to the admin panel where you need to login with your email and password defined at step -
From this admin panel you will be able to change anything, name, description, logos, websites, categories, and you will have to click on “Publish” once done and wait a few minutes before it is updated!

The coders way
- Fork this project
- Edit
content/config.json - Add your categories in
content/categories.json(after deleting the demo categories) - Add your links in
content/links.json(after deleting the demo links) - Edit your strings in
locales/en.json(optional) - Change your icon in
static/images/logos/icon.png - Use
npm run analyzeto check analyze your links andnpm run get-logosto try to download logos of websites (do not forget to remove thestatic/images/logosdemo content) - Generate with
npm run generate - Deploy the generated files from the
distfolder (on netlify, gitpages or surge, they are all free)
⚙️ How to run
Pre-requisites
- NodeJS
Install
npm install
Development
npm run dev
Build
npm run generate
Analyze links & categories
# To check how many links you have in each category and if there are links in double
npm run analyze
Downloads logos
npm run get-logos