Laravel is one of the most popular web frameworks you can use for your next project. Having used Laravel extensively myself I can honestly say, the developer experience is extremely good.
Vue has a long-standing history with Laravel and quite a bit of its popularity comes from the Laravel community heavily using Vue for their frontend work.
As such I thought it would be interesting to see how we can setup the latest installment of Vue in Laravel. Just for fun, we will also setup Tailwind, for those of you curious to see how that works.
Learnings
- Setup a Laravel project using Composer
- Install and configure Vue 3
- Install and configure TailwindCSS
- Setup a Sqlite database for development
Setup a Laravel Project using Composer
There are a few options when it comes to installing Laravel. We will be using Composer to setup the Laravel framework.
For this you will need to install the following:
And for development you will be needing PHP 8.
If you are asking yourself how much JavaScript you need to know to use Vue, I have an article that details exactly this.
After installing all of this, we can simply run the following command to scaffold a complete Laravel project:
composer create-project Laravel/laravel <app-name>
In our case I will be using the following command:
composer create-project Laravel/laravel Laravel-vue
This will then install everything we need.
Great! Now onto installing Vue 3.
Install and configure Vue 3
If you have been using Laravel from 6.x onward, you may well have come across the Laravel/ui package, with which we could install Bootstrap as well as React or Vue.
For Vue 3 there is not a package as of time of writing, but there is a rather easy way of doing this.
Let us first install the dependencies needed for Vue 3:
npm install --save vue@next && npm install --save-dev vue-loader@next
After that we need to tell webpack to compile our vue files as well. WE can do this be opening the webpack.mix.js file and add the following line:
const mix = require("laravel-mix");

mix.js("resources/js/app.js", "public/js")
    .vue() //new
    .postCss("resources/css/app.css", "public/css", [
        //
    ]);
I usually run npm install followed by npm run dev.
Here you will likely get an error the first time compiling that, because npm has installed a missing package for us:
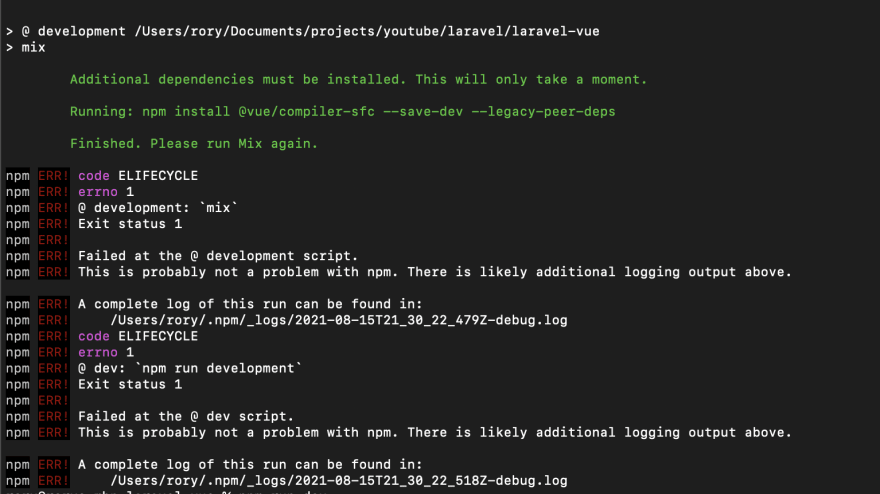
Simply re-run npm run dev and everything compiles without any errors.
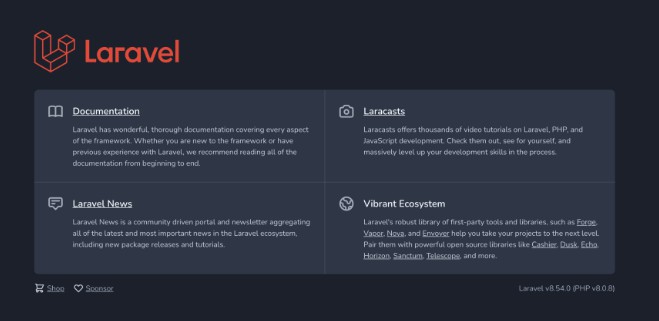
We can start our project by running php artisan serve that start the built-in PHP development server on port 8000. If you now go to localhost:8000 you will see the following:
Laravel is done, now to get Vue setup.
Create our Vue project
We haven’t actually done anything with our Vue setup. Let us change that by creating a root component that will house our entire Vue app.
Create a new App.vue file in the resources/js folder with the following markup:
<template>
    <div>
        <h1>Vue 3 App</h1>
    </div>
</template>
A very simple Vue app with a heading.
Now we need to adapt our app.js in resources/js to make use of our vue file:
//resources/js/app.js

import { createApp } from "vue";

import App from "./App.vue";

createApp(App).mount("#app");

require("./bootstrap");
Here we are first importing the createApp() method that is new to Vue developers. With this we can create a new Vue instance.
We then import our Vue file and create a new Vue instance and mount it on an element with the id “app”.
Now let us create an element that has that id. To do this, we can remove the standard markup found in our welcome.blade.php file and replace it with this:
<!DOCTYPE html>
<html lang="{{ str_replace('_', '-', app()->getLocale()) }}">
    <head>
        <meta charset="utf-8">
        <meta name="viewport" content="width=device-width, initial-scale=1">

        <title>Laravel</title>

        <!-- Fonts -->
        <link href="https://fonts.googleapis.com/css2?family=Nunito:wght@400;600;700&display=swap" rel="stylesheet">
    </head>
    <body>
        <div id="app"></div>
    </body>
    <script src="{{ asset('js/app.js') }}"></script>
</html>
As you can see, we have a div with the id app that will be replaced by our Vue app.
Below we have a script tag that references not the app.js we have in resources/js, but within our public/js folder. This file is the end result of our webpack build process.
Before we do that, we need to once again run a build process because we have not actually processed the Vue files we created.
To avoid having to run npm run dev every time we make a change, we can run npm run watch that allows us to trigger a build process as soon as we save the changes.
You should now be able to see our heading:

You may need to restart the development server, if you are getting errors.
Install and configure TailwindCSS
TailwindCSS has become very popular, not only with Laravel developers, but also with Vue developers.
Tailwind allows you to create apps and website without ever having to leave your html.
First we need to install the necessary dependencies:
npm install -D tailwindcss@latest postcss@latest autoprefixer@latest
We can now create a tailwind config file that we can use to extend the default TailwindCSS settings:
npx tailwindcss init
This will create a new tailwind.config.js in our project.
We then need to configure webpack to process the tailwind installation:
const mix = require("laravel-mix");

mix.js("resources/js/app.js", "public/js")
    .vue()
    .postCss("resources/css/app.css", "public/css", [require("tailwindcss")]);
To be able to use the tailwind utility classes in your project, we can simply add it to our resources/css/app.css file:
@tailwind base;
@tailwind components;
@tailwind utilities;
These tailwind directives are picked up by our webpack build processes and the tailwind utility classes are placed within the final css file produced.
We can finally add the stylesheet to our welcome.blade.php to use the styles in our project:
<!DOCTYPE html>
<html lang="{{ str_replace('_', '-', app()->getLocale()) }}">
    <head>
        <meta charset="utf-8">
        <meta name="viewport" content="width=device-width, initial-scale=1">

        <title>Laravel</title>

        <!-- Fonts -->
        <link href="https://fonts.googleapis.com/css2?family=Nunito:wght@400;600;700&display=swap" rel="stylesheet">
        <link rel="stylesheet" href="{{ asset('css/app.css') }}">
    </head>
    <body>
        <div id="app"></div>
    </body>
    <script src="{{ asset('js/app.js') }}"></script>
</html>
You may again have to restart the development server and/or restart the build process.
We can now add a few utility classes to our component to test that everything works:
<template>
    <div class="flex justify-center mt-24">
        <h1 class="text-2xl font-bold text-gray-700">Vue 3 App</h1>
    </div>
</template>
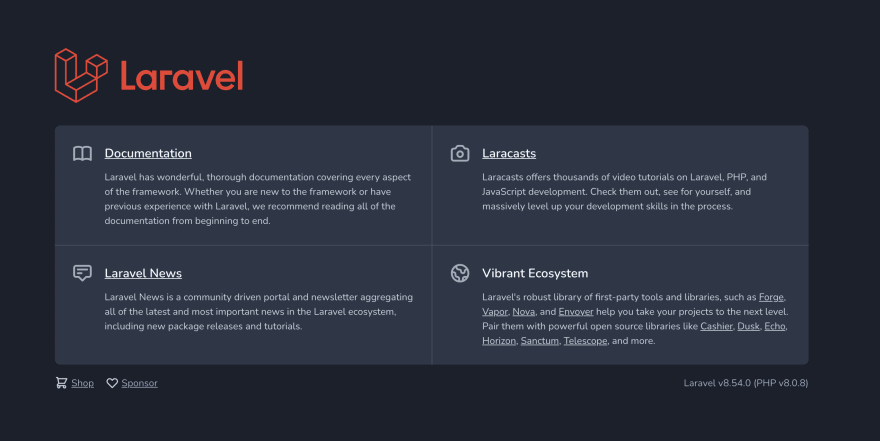
The result being:

Awesome! We can now style our project using TailwindCSS.
We can now go about setting up a Sqlite database for our development.
Setting up Sqlite
In our database folder we can create a new file called database.sqlite. This will be our database for development purposes. It is a very lightweight option and every handy, particularly for learning purposes.
We now need to configure Laravel to use our new database file. To do this we need to update our .env file:
DB_CONNECTION=sqlite
DB_DATABASE=database/database.sqlite
The default setup can be replaced with the one above. To test this setup we can run a migration using the following command:
php artisan migrate
I usually restart the development server before running the migrate command. If all goes well, you can see the following output:
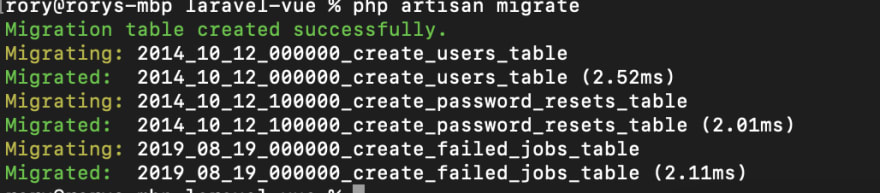
That is it!
You now have a Laravel project ready for further development.
Conclusion
I hope this article provides you with the necessary information to build your own app that uses Laravel 8 and Vue 3 with TailwindCSS.
Let me know in the comments what frameworks you are using in your projects.
I’d love to know!
Author: UX Engineering